
Creating and Editing a Teaching Guide
This article will help you compile a lesson plan for yourself and other educators with a Teaching Guide.
If you would like more information on what a Teaching Guide can do for you, visit the What are Teaching Guides? article. |
Create your Teaching Guide
First, we need to create the blank Teaching Guide for you to add your lesson plan to.
Click the My content link to go your dashboard, then select Add new content from the My content section.
Select the Teaching Guide content type.
Give your Teaching Guide a title, and then optionally fill out the description, subject, and background knowledge fields.
Adding sections
Navigate to the blank section editor that will let you create your first Teaching Guide section.
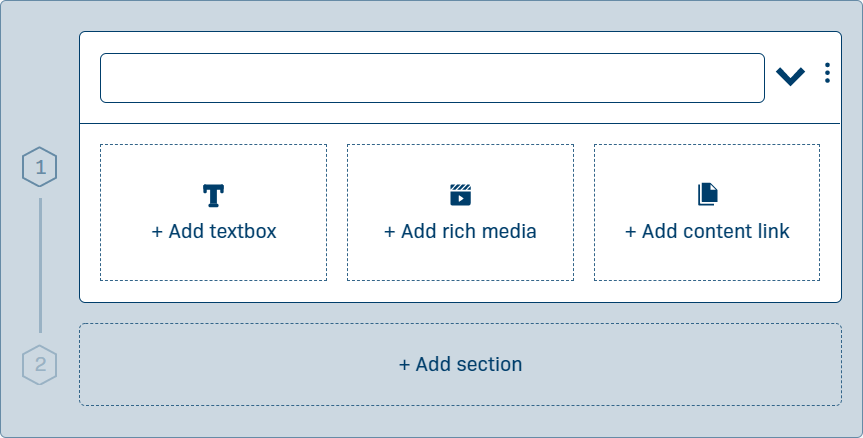
Add a name for this section and choose if you want to add a textbox*, some rich media like an image, video, or audio content, or link out to a different piece of content on LabXchange.
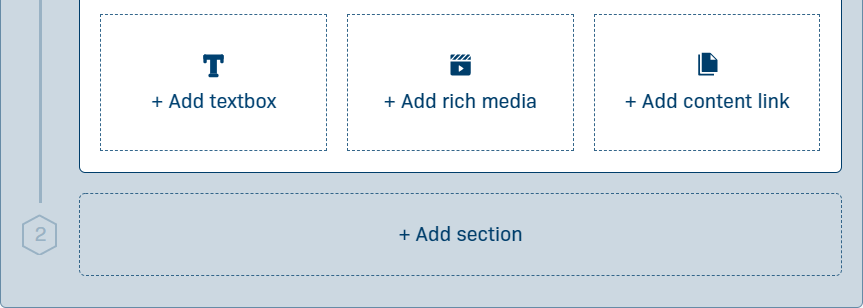
Looking to add more than one element to a section? Scroll down and you will find the buttons to add more are below the last piece of content that you added.
Add any more sections you need by scrolling down and clicking on Add section and repeat the previous step as needed.
*For more information about the LabXchange text editor, please see the article for Creating and Editing a Text Asset.
Add additional content
You may want to have a few extra materials on hand during a lesson that you haven't included in a specific section of your Teaching Guide.
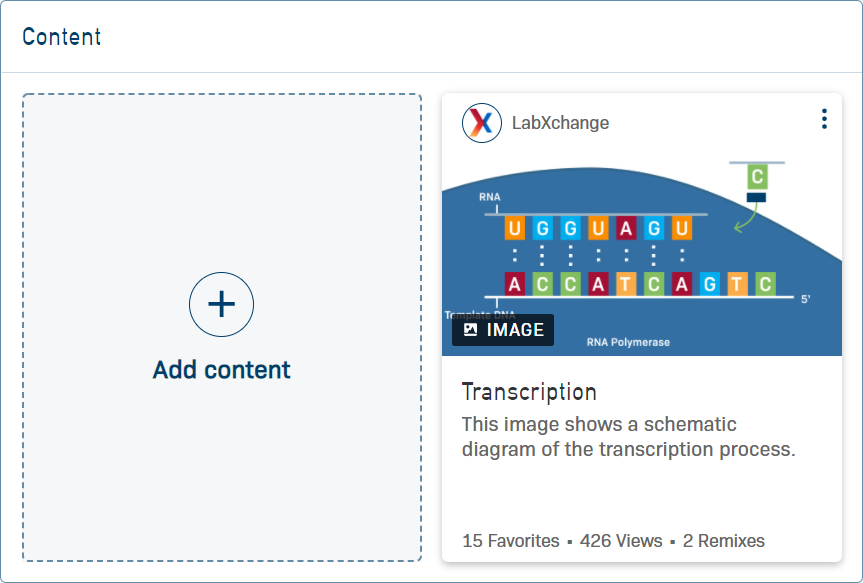
To add these resources to your teaching guide, scroll down to the Content block at the bottom and click on Add content
Final details
Scroll down further to edit the last optional details to your Teaching Guide such as the list of authors, subject tags, and featured image.
Your Teaching Guide is now complete and ready to be saved to your private Library.